 One of the first sculptures I built, back in 1999, was a globe. It was 15 inches in diameter. While I was pleased with it, I always regretted making the land masses green against the blue bricks of the water. The contrast was not very good.
Of course, I was just starting out back then, and I did not have a great variety to pieces and colors. So, just building a studs-up sculpture out of blue and green bricks was challenge enough.
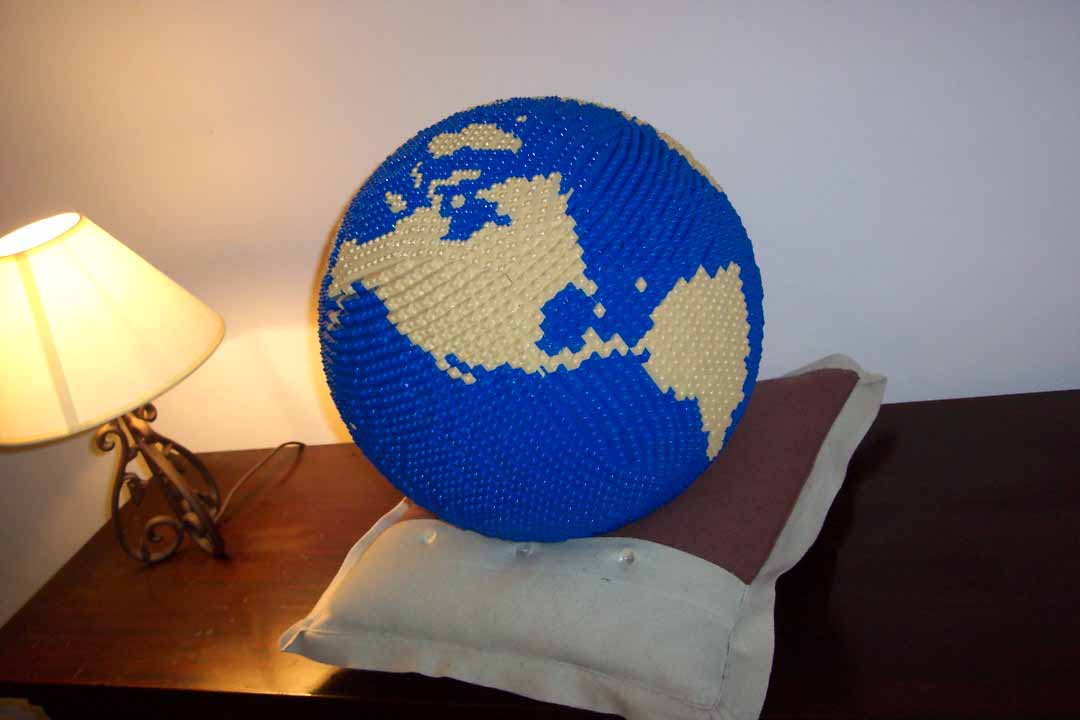
It's now six years later, and I have finally gotten around to building a new globe. While this one is also 15 inches in diameter, I think it is superior in many ways.
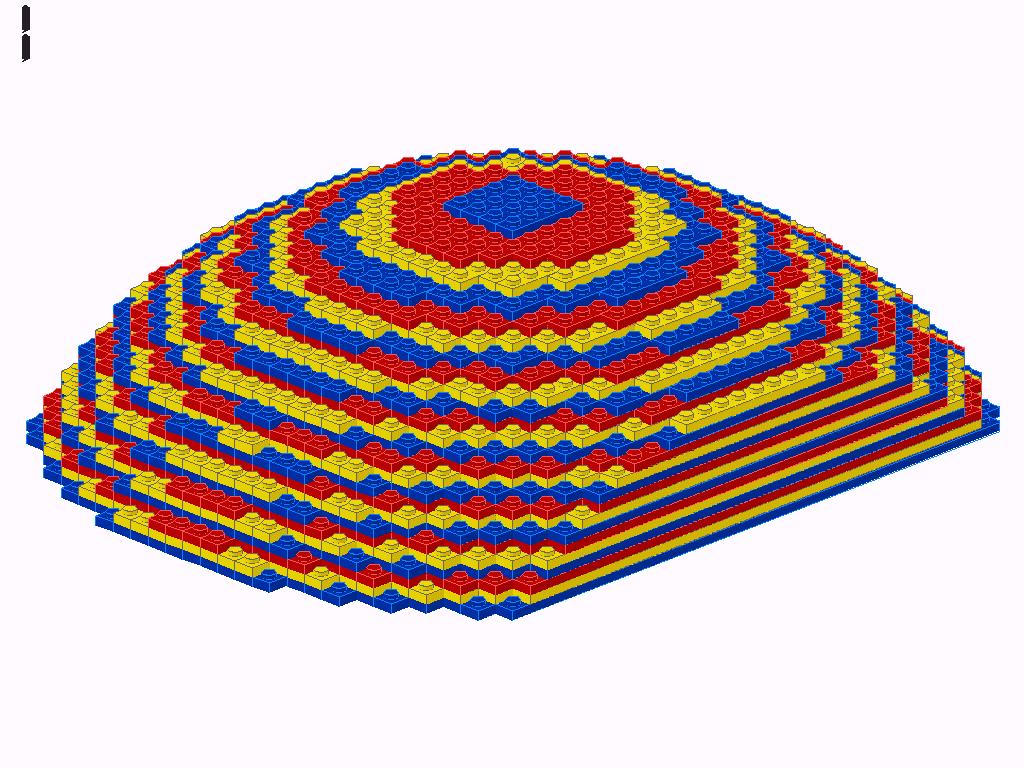
I was prompted to tackle the redesign after being inspired by a creation of another LEGO builder: Bruce Lowell. Some time ago he developed what I consider to be one of the most beautiful building techniques in LEGO-dom: The Lowell Sphere. The link goes to his original "6.8 stud wide" model.
It consists of 6 identical pieces which are stuck together. The surface of the sphere is all "stud outward", and the roundness of the ball, even at that small size, is exquisite.
I used the technique when building a Snowman model in 2004. In that model I enlarged the original sphere to get three different sections for the snowman's body. This enlargement I just did "by hand", and while the bigger spheres are not quite as round, they did the job on that scuplture.
Then, in May of 2005, another LEGO enthusiast, Bram Lambrecht, announced that he had written a web-application which would generate a "Lowell Sphere" of any size.
Wow!
The output of the application could be read by various LEGO rendering programs, and while super-large spheres would require an insane number of pieces, the beauty of the virtually rendered models was unquestionable.
So... all of this led me to the New Globe.
Believe it or not, I had never used any of the computer design software out there that could read LDRAW format files, but this project prompted me to final do it. I downloaded and used MLCAD.
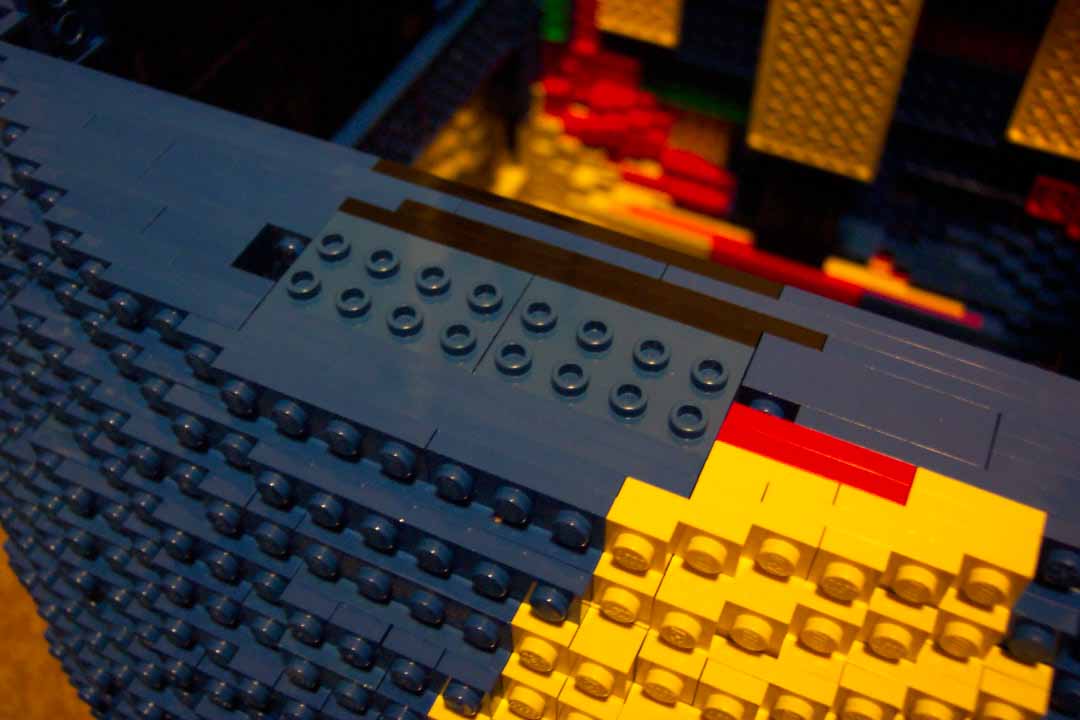
With it I printed out a model of one of the six sections needed to build a 15 inch sphere (48 studs).
Of course, the printout did not have any continents or countries on it; it only showed the structure.
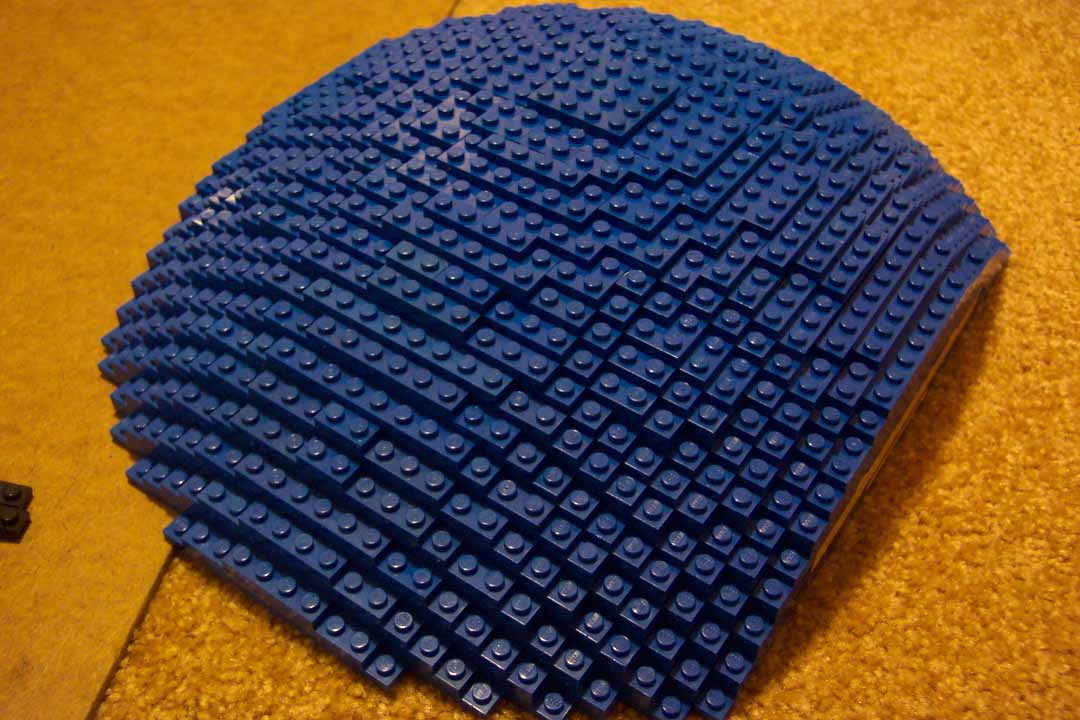
 I proceeded to build one of those sections out of all blue plates (and, boy, did this project take a lot of plates).
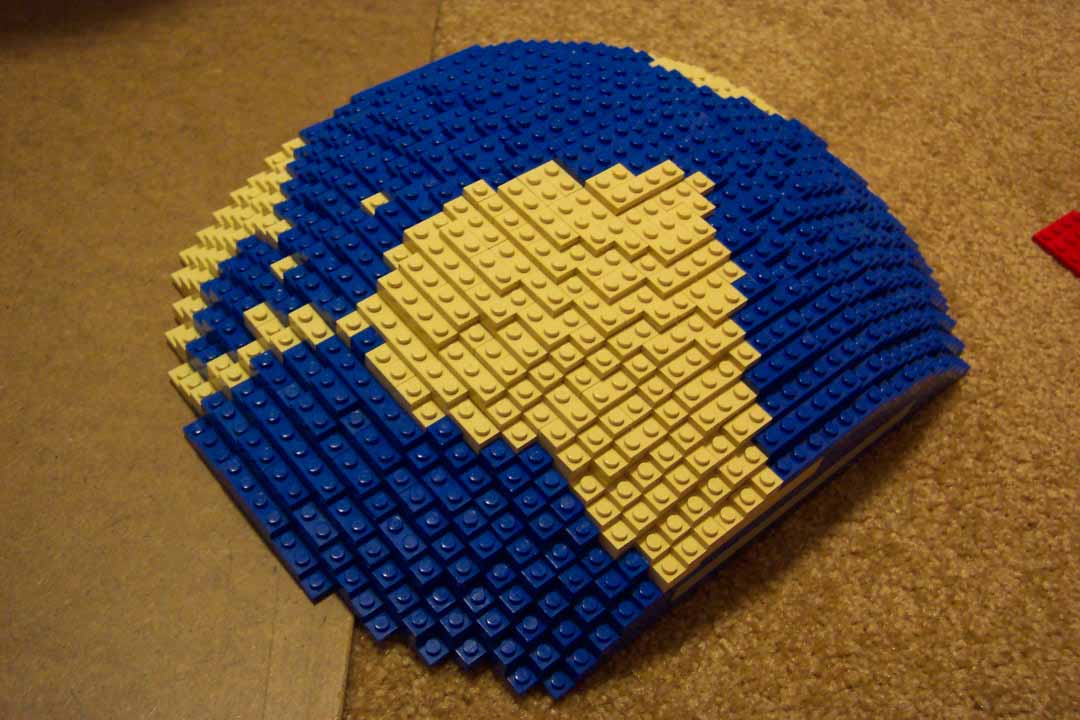
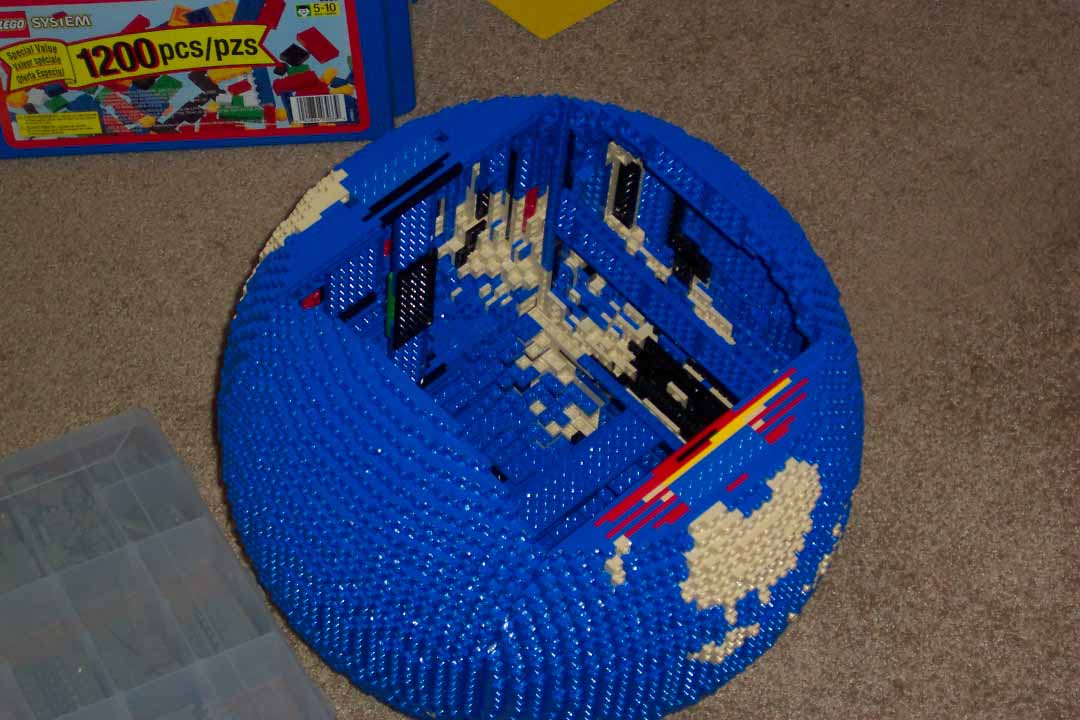
I got an old globe that I had in a closet and with a pencil marked off the six equal sections as best I could. Then I chose one to start with (a section featuring most of South America, part of North America, and part of Africa).
On my blank, blue section, I used tan plates to map out the land masses. Now, if I had been lazy, I could have simply built six all-blue sections and then stuck tan plates on the surface. This would not have been the neatest way to do it, however. Not only would the raised land areas distort the "smoothness" of the sphere, but since the edges of some of the plates also needed to be tan, just sticking some on the surface would not have looked very good.
No... once I had a section mapped out on my blank section, I then built a new section... integrating the tan pieces where they needed to be so that the continents were formed (here is that same section of the globe, rebuilt).
This process of building with both tan and blue was MADDENING. Building one of the sections in all one color was challenging enough; but having to remember when to start using some tan bricks, and getting all of the pieces to interlock while not accidently exposing a wrong color somewhere was mind boggling.
It would take about an hour to outline the continents on my blank section, and then another two to three hours to build the section with the tan bricks included.
And to top it off... I needed the six sections to mesh properly at the seams.
Oh, and after building the first two sections, I realized I would face a quandry that one often does when building large projects: I didn't have nearly enough pieces.
Despite starting with thousands of small blue and tan plates (several thousand), I was quickly running low.
Nothing a couple hundred dollars wouldn't fix with a visit to BrickLink, however. Of course, I didn't know exactly how many pieces I'd need, so I tried to cover my needs without buying too many extra.
Once the pieces arrived I finally got to finish the job.
Into the side of each section I incorporated some specialty bricks with studs on their sides. This allowed the sections to then be fastened together (without glue).
The last section I tackled was the South Pole. Since I decided I was not going to worry about the Antarctic ice masses, I used my original blank section for this area (I only had to modify it a bit get the south tip of South America as well as Tasmania below Australia).
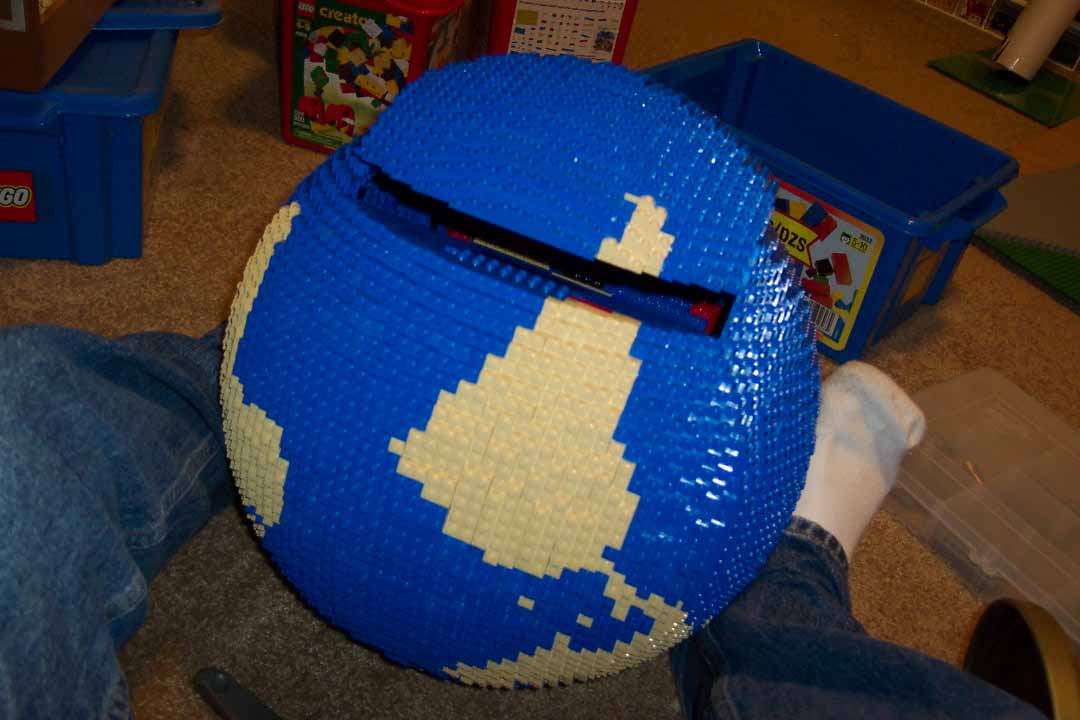
The side-studded bricks did their job, and with a little pressure I joined everything, and had the new, improved globe constructed.
Here is a close-up of North America; you can see where three sections meet -- the studs point in three different directions in the Midwest of the United States.
After assembly I realized that for some reason I completely forgot to build Madgascar off the southern edge of Africa.
Oh well... I will correct that later...
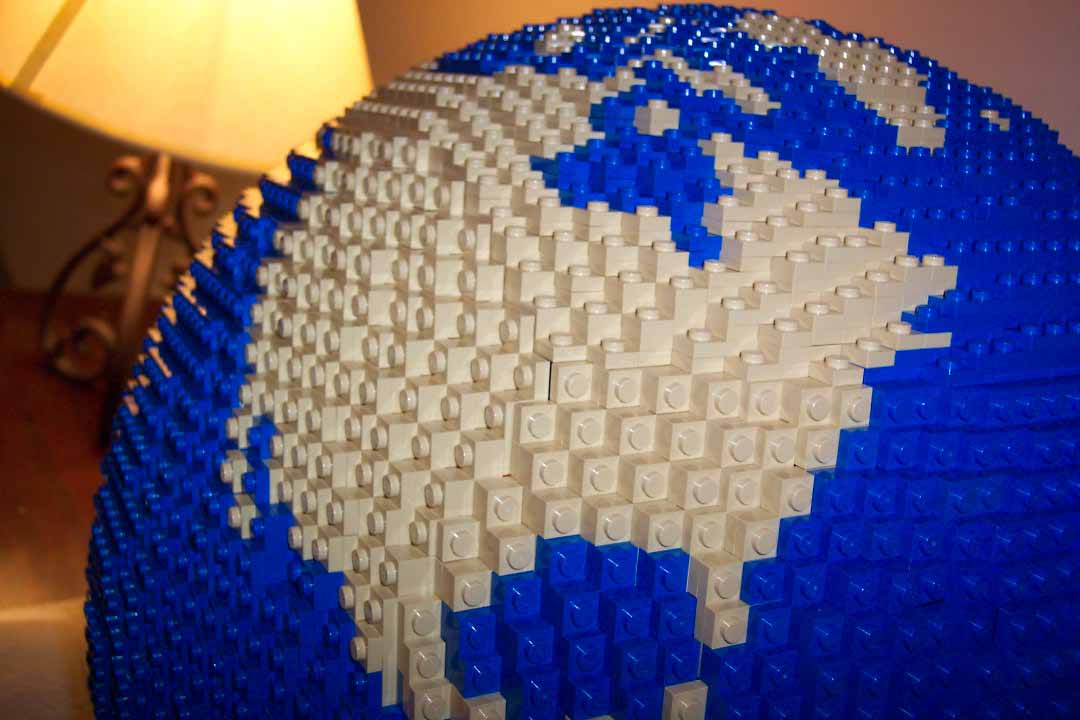
For now I'm just happy that the tan bricks provide much better contrast than the green bricks of my original globe.