
ORIGINAL

CROPPED

Studs Up -- NOT USED

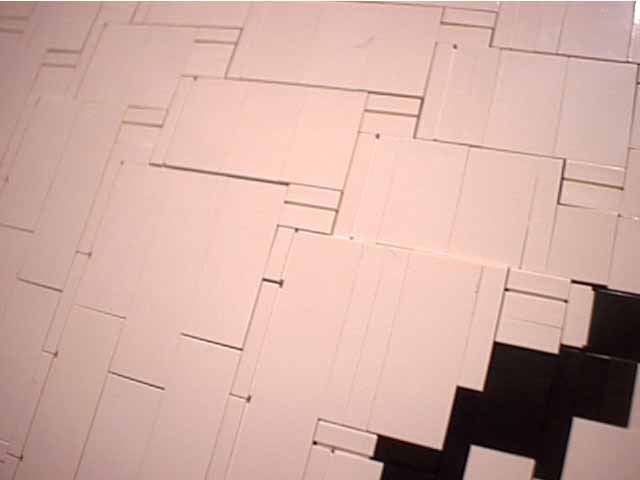
SNOT
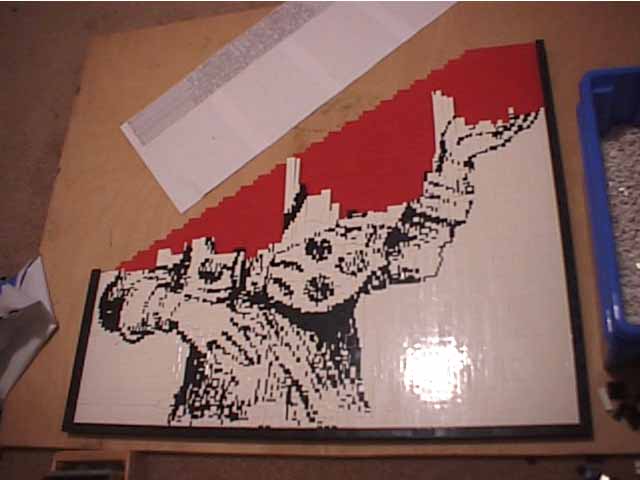
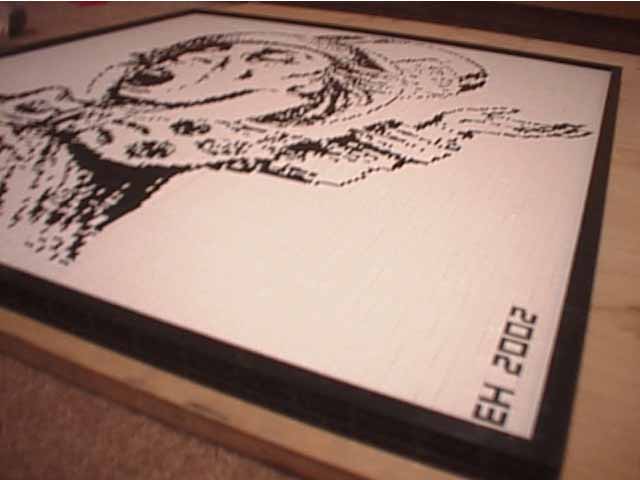
FINAL MOSAIC
|
ORIGINAL |
|
CROPPED |
|
Studs Up -- NOT USED |
|
SNOT |
|
FINAL MOSAIC |
In the meantime I had completed a White Rabbit Mosaic, and consistently told myself that I would get around to completing the Mad Hatter model sometime.
*     *     *     *     *
   *     *     *     *
*     *     *     *     *
Skip ahead more than two years...
In September 2002 I exchanged a couple of emails with a fellow LEGO enthusiast, Nick Corea. In his email he mentioned that he was "experimenting with alternating/rotated plates, tiles, bricks to create interesting details" in mosaics.
Up until that point I had only really considered building mosaics in one of two fashions: 'Studs Up' or 'Studs out'. The former mode uses bricks and plated built in normal LEGO fashion, stacked one atop another, to create a mosaic which is smooth to the touch when hung upon a wall (the sides of the bricks are seen). 'Studs out' means that baseplates back up the pieces which are then veiwed from the top when the mosaic is hung (the studs point 'out' toward the viewer) -- my Mona Lisa mosaic is an example of this style.
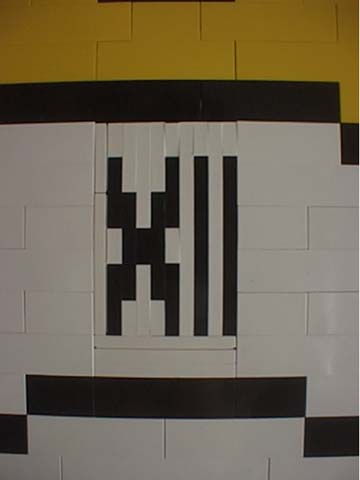
Here, then, was the potential for a third type. Using the vernacular of LEGO collectors, I thought of this third style as 'SNOT' (Studs Not On Top). This acronym has been tossed around for a while amongst LEGO enthusiasts, and it seemed appropriate enough to use here (I suppose 'SNOT' could also stand for Studs Not Oriented Typically).
Anyway, this whole concept intrigued me greatly. I began to consider the feasibility of building a large mosaic in such a mode. Until then the only SNOTty mosaicky stuff I had done were the Roman numerals in the Grandfather Clock face and some experimentation with LEGO fonts.
The main problem, of course, was that the program I had writen to help me construct mosaics (Pixelego -- no, it's still not publicly available) only knew about the first two types of piece orientation.
Hmmm... time to start reprogramming.
After about a week of contemplating and coding I managed to revise my program, and it could then accommodate SNOT orientation.
So, I had the tool... but what image to use?
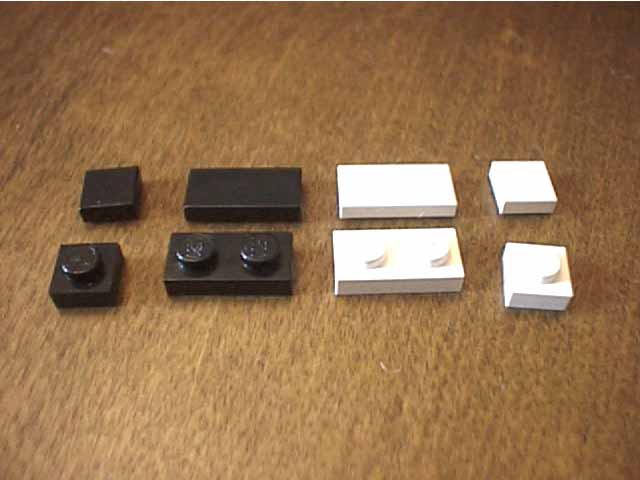
The potential benefit of using SNOT orientation, of course, is that you can acheive slightly better 'resolution' over Studs Up orientation because the pieces can be turned at right angles to better follow lines in the original image (not only are standard bricks and plates used in SNOT mosaics, but many smooth 'tiles' are needed as well since the absence of studs on such pieces allows them to be slid into place without bumps getting in the way).
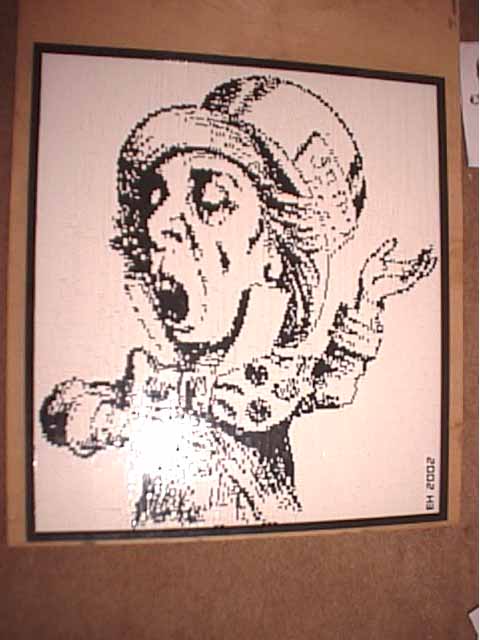
I realized that the original illustrations from the Alice books would be perfect. They were created with woodcuts and were composed of many fine lines. The mosaic could be done with two colors: black and white.
Among the images from the story, I picked one of the Mad Hatter. Thus, though the sculpture would likely never get built, I would, finally, have a LEGO-Hatter themed project complete.
The image I started with is pictured at right. I modified it before running it through Pixelego. I wanted a cleaner image, so I removed the elements around the Hatter (the teacups, the dormouse, etc...)
Below those images are images which show the difference between Studs Up orientation and SNOT orientation. The difference is not great, but it was enough to make me want to progress with the project. Studs Out orientation is not shown because that resolution is even poorer than Studs Up.
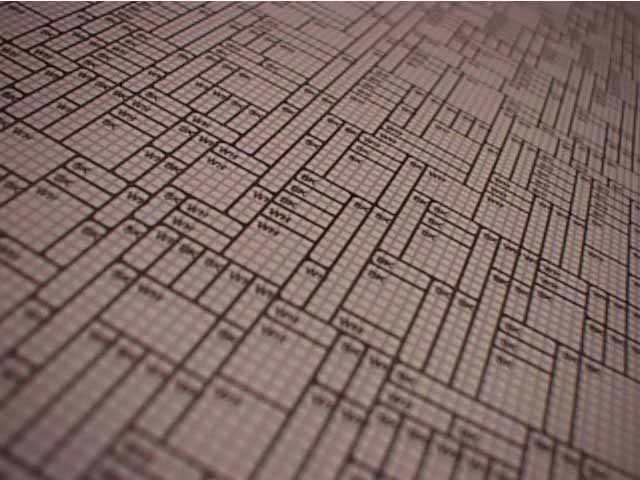
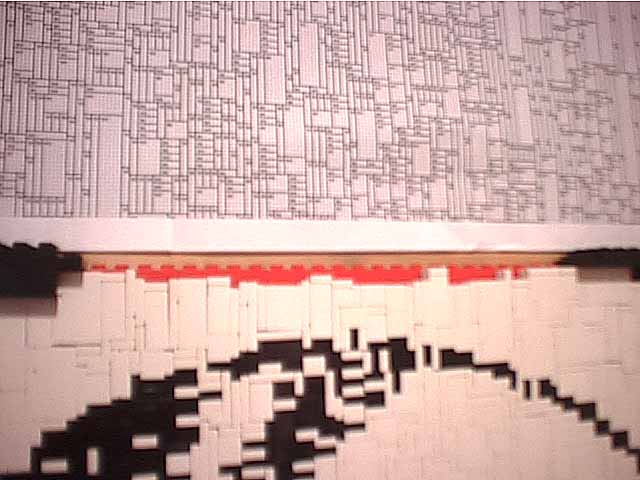
With instructions printed out, I began to build.
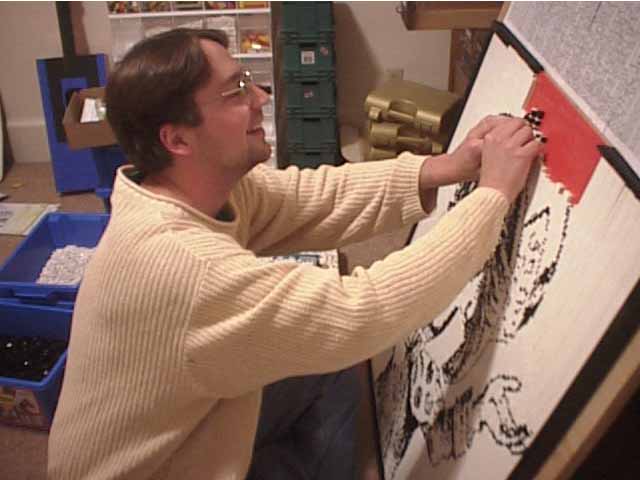
Beyond the normal monotony that comes along with any mosaic building, SNOT mosaics have the added requirement of the builder needing to be amazingly careful during the construction process. Since the pieces are not all locked togther -- they are simply laid down next to one another, any terrible jostling, and you run the risk of knocking all of the pieces out.
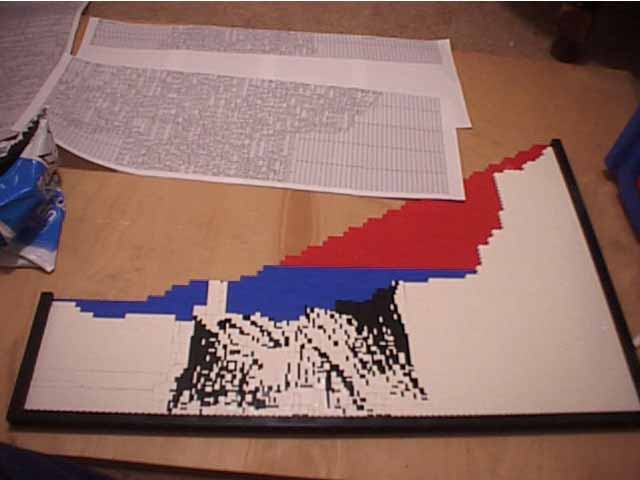
I started by building the mosaic (and a backing layer of bricks) on a heavy sheet of plywood lying flat on my floor.
The whole process was akin to a jigsaw puzzle... a puzzle for which I had to first build each piece, and then put them into place.
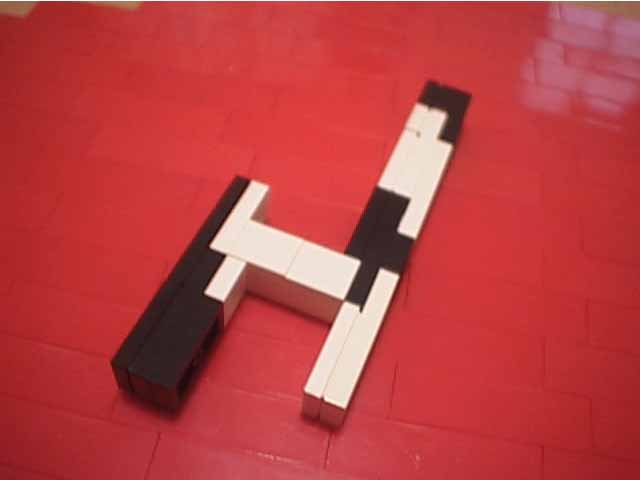
I progressed from the lower right corner toward the upper left corner.
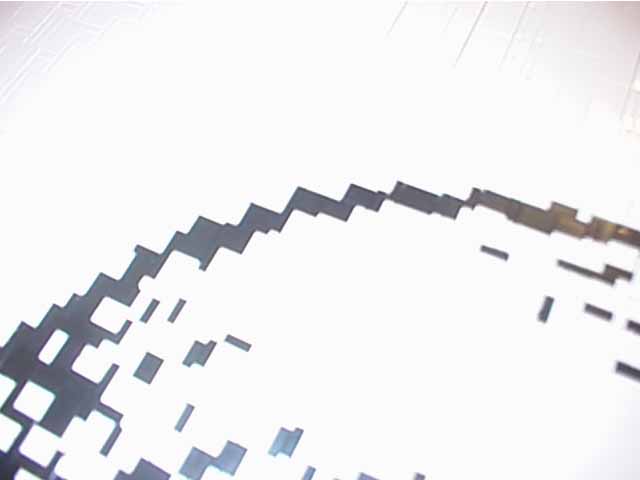
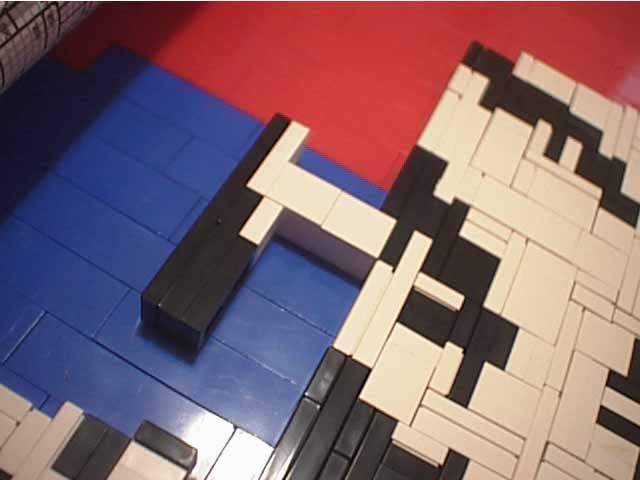
This direction of building was purposeful. I designed the instructions so that the bottom and right edges were completely smooth (all of the pieces started aligned along those edges). Since the pieces were being placed at right angles to one another (and the width-height ratio of the side of a plate is a rather unfriendly 5:2), it was impossible for the program/instructions to completely reconcile the piece alignment within the given mosaic area. While the program could guarantee that there were no gaps in the mosaic itself, by the time the upper and left edges were reached, the leading edge became jagged.
I made up for this by getting creative with the border. While the mosaic proper is only two rows thick (the image layer and the backing layer of 1x4s), the border was 3 rows thick. Along the upper and left edges I used this extra row to overlap the jagged edges, thus hiding them from view.
After ten days of building I neared the end.
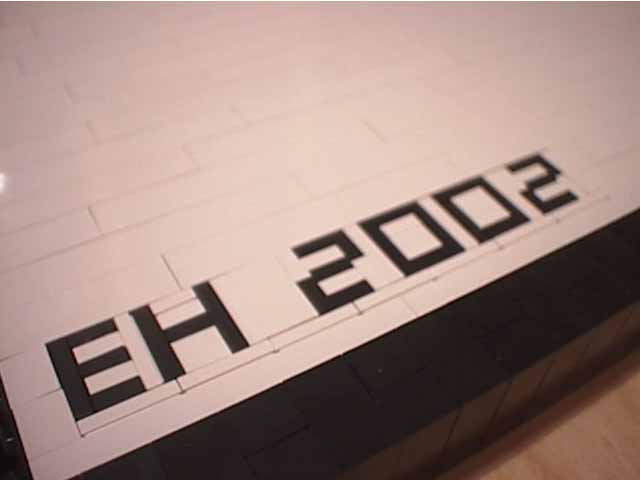
After the mosaic was completed, I then incorporated a 'signature' into the lower right corner (I should have done this at the beginning of the whole project -- but I had forgotten). To save space I just used my initials and the year ('Eric Harshbarger - December 2002' is quite lengthy).
Anyway, that's that.
'Advancing LEGO Mosaic technology' as it were.