
White pieces seemed to be the obvious choice since any shadows caused by relief would be most visible on lighter bricks. I entertained the idea of a polar bear or other 'arctic' scene, but then I thought about the white LEGO bricks acting as a faux marble of sorts.
Carved marble got me thinking along classical lines, and soon I thought of Greek mythology, and specifically the legend of Pegasus.
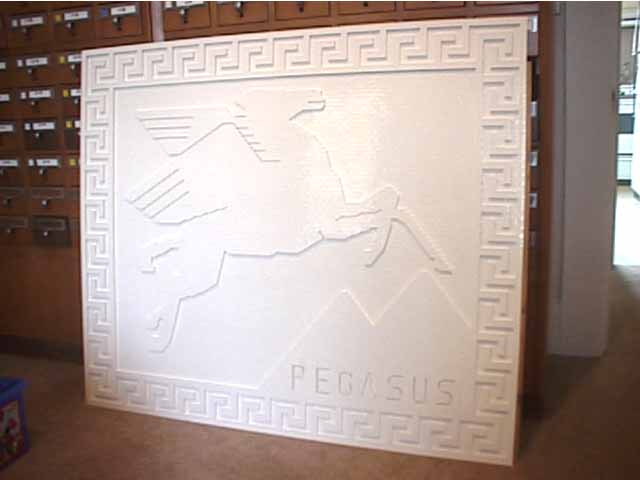
Pegasus was the winged horse that was born from the blood of Medusa after hero Perseus slew the Gorgon (read more about the myth).
One of the most famous uses of Pegasus as an iconic symbol is the logo for Mobil Oil (pictured at right). This is the image from which I took most of my 'inspirtation'.
The goal was to make a 'Studs Up' mosaic which was only two rows thick. The relief effect would be caused by the foremost layer while the back layer would be solid. I had a lot of white 1x2 and 2x2 bricks in my supply, so I wanted to use as many of those as possible. Also, I wanted to use a variety of slopes as much as possible.
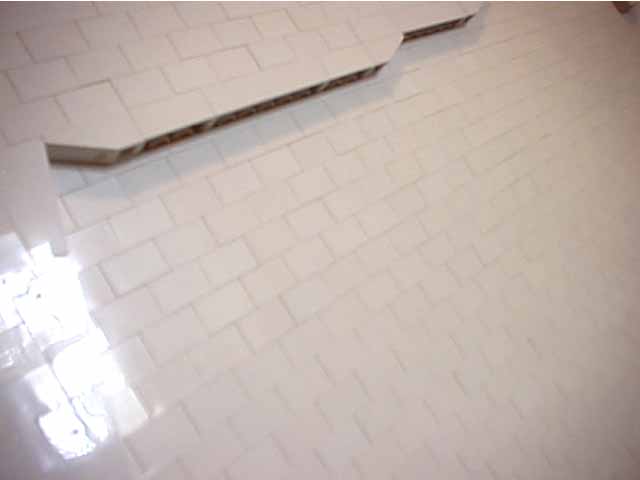
 Finally, to try to mimic the look for carved stone, I decided that the final mosaic would have no visible studs; everything would be capped by slopes or smooth tiles.
So this was all conceived and refined many, many months ago, but it took some time for me to actually get around to building the darn thing.
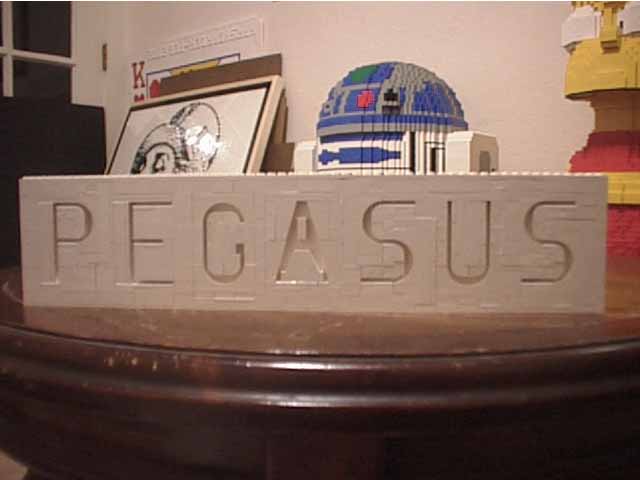
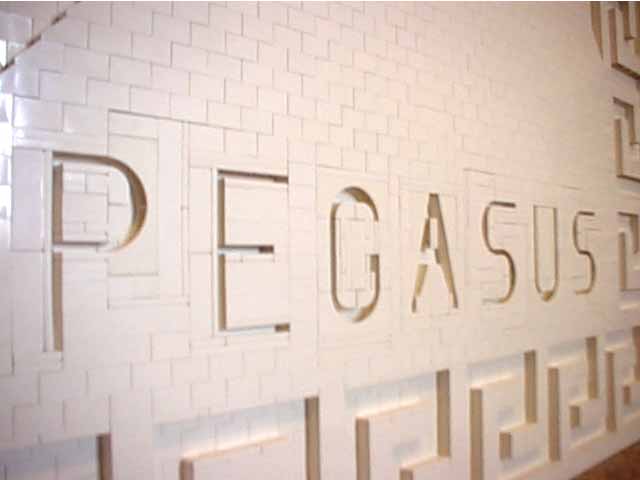
The first thing I did was design the title plate of the mosaic, 'PEGASUS'. This was quite a trick bit. I used Studs-Not-On-Top methods to achieve a 'carved' look and obtain letters with actual curves in them. Many arches were carefully positioned. The building of the nameplate prototype took a few days. With its size secured, I could then plan on integrating it more substancially into the final mosaic.
Next, I built a prototype of the winged horse. As I did not have enough white slopes available at the start, I decided to build the prototype using 2 wide slopes. Amazingly I had enough orange slopes to build almost the complete prototype (who would have thought buying 20 LEGO pumpkins two years ago would have come in so handy?)
The rough model was constructed such that most of the slopes were orange or blue, the main interior bricks were red, any needed plates were black or yellow, and any tiles used were white. This way, when the prototype was complete, it was easier to identify each type of piece used, and thus counting an inventory of elements was facilitated. This was, of course, all an attempt to more accurately order the right number of pieces from BrickLink.
Once the needed pieces arrived, I could actually start building the final piece.
I considered drawing out instructions based on my prototype and using
The actual construction only took four days.
And boy, did it ever use a lot of 1x2s. Over 5000 to be sure. Over 2000 2x2s were also used.
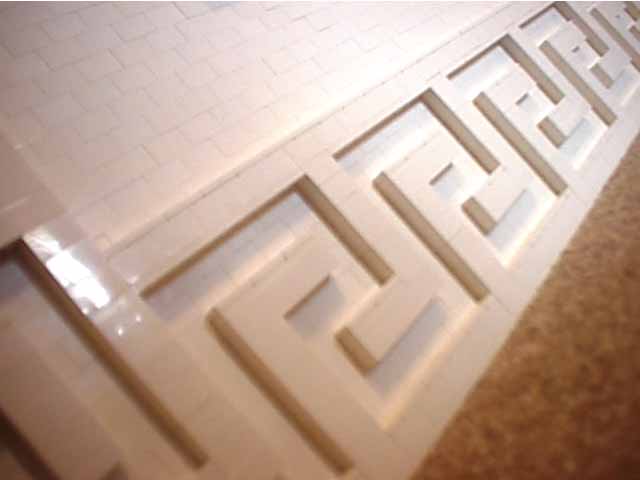
The most enjoyable part for me was creating the geometric pattern as a border. Again, no studs were to show, so a lot of white tiles were used to cap off the designs.
The final mosaic is 150 studs wide (46.875 inches) by 105 rows tall (39.375).